An often overlooked aspect of creating a Statamic or Laravel application is customizing the 500 Server Error page. By default, a Statamic site will display an error page similar to this when a catastrophic error occurs:
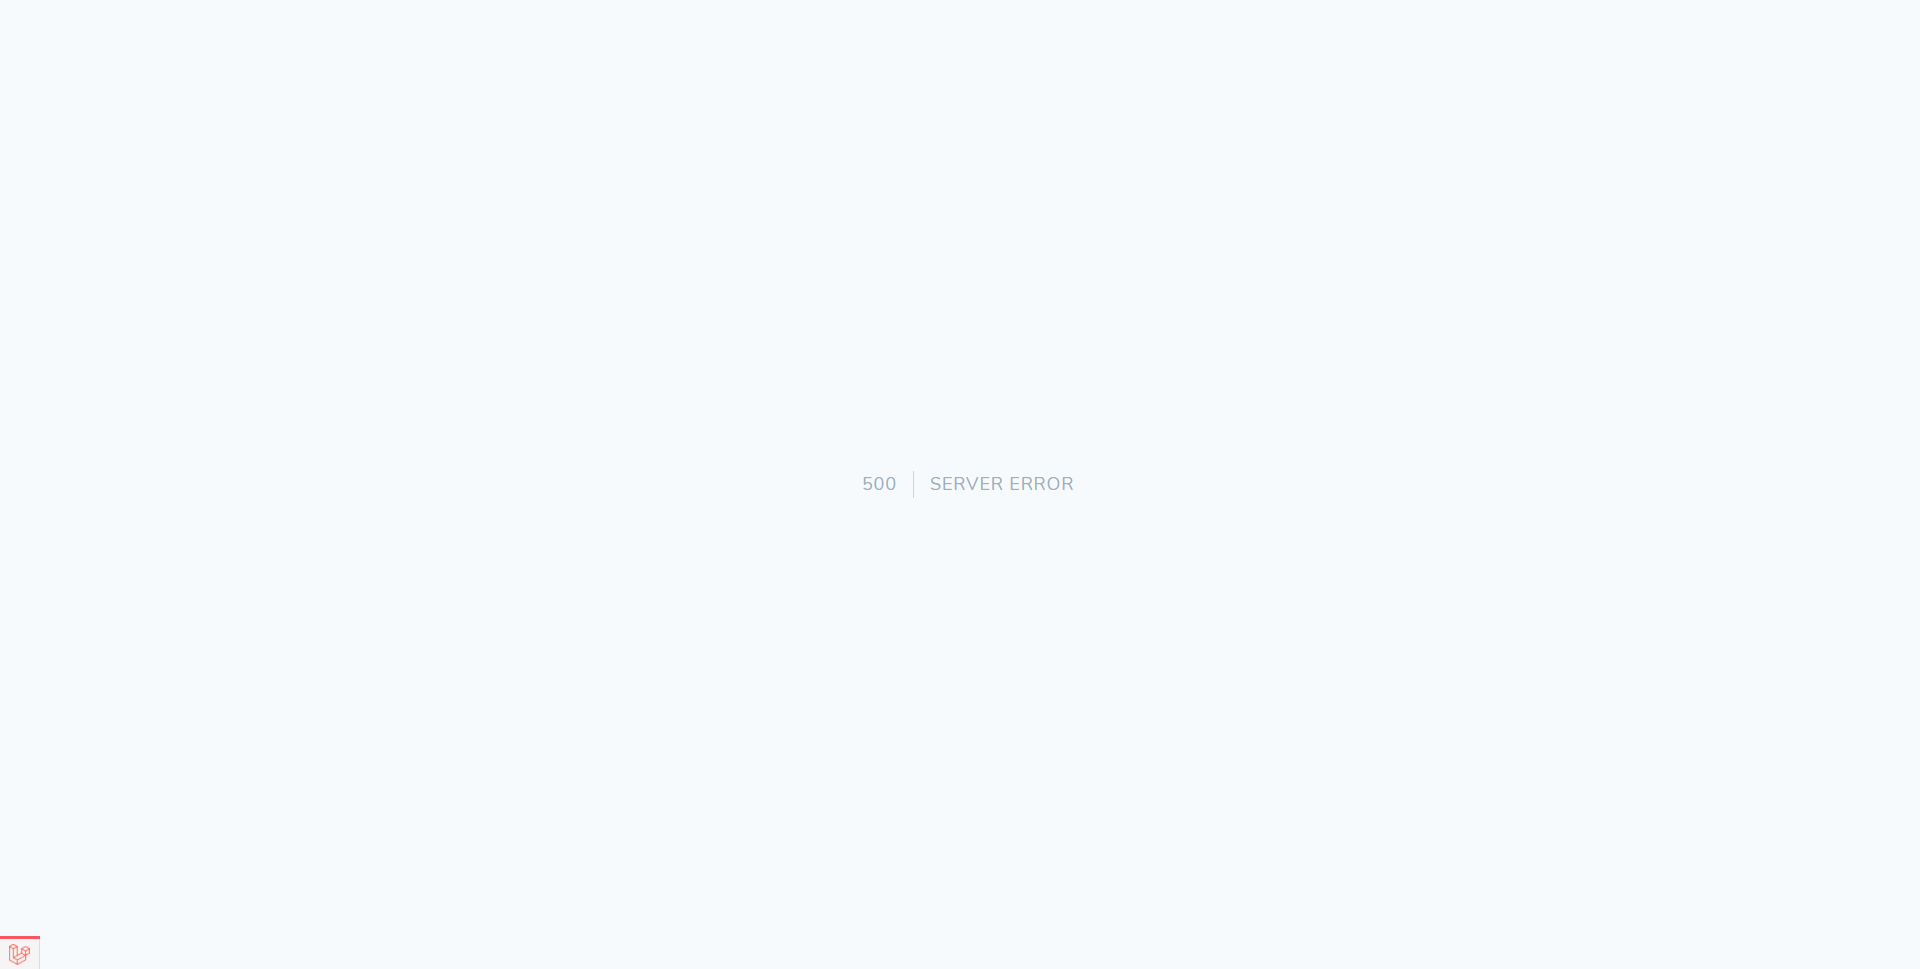
Granted, this is much nicer to look at than the default error page that is often provided by web servers such as Apache or nginx, but it still does not communicate a clear message of what has happened to a visitor; the general public probably does not know, or care, about the difference between a 404 error and a 500 error. By customizing these types of error pages we can provide additional details to the visitor about what happened, what they can try next, and emphasize site branding, amongst numerous other things.
#Statamic Views Directory Structure
Overriding these error pages in a Statamic project is incredibly simple. If we look at the default file listing in resources/views/ we will find something similar to the following:
1errors/
2  404.antlers.html
3default.antlers.html
4home.antlers.html
5layout.antlers.html
The errors directory allows us to override the template or view that is displayed to site visitors by simply creating a new file with the name of the HTTP status code. To override the 500 Server Error page we can create a new file named 500.html.
You may have noticed that we did not use the .antlers.html or the .blade.html extension. The reason for this is that those two extensions rely on the server-side stack to parse the template and create a response that the user will see. If we have encountered a 500 Server Error page, we cannot assume that our server-side code is working at all, and will fallback to a plain HTML document.
#Creating the Template File
To override the 500 Server Error page, we can simply create a new 500.html file within the errors directory. The contents of this file can be anything, but remember that you are not guaranteed to have access to any server-side languages, such as PHP.
This article will utilize the following as an example 500 error page template:
 1<!DOCTYPE html>
 2<html>
 3<head>
 4    <title>Our Custom Error Page</title>
 5</head>
 6<body>
 7
 8<h1>Something bad happened!</h1>
 9
10</body>
11</html>
#Testing the Error Page
Now that we have our custom server error page, we need a good way to test it. To do this, we will create a custom Statamic Antlers tag that we can add to our templates to force a server error whenever we want.
Statamic's please command line utility will be utilized to scaffold the necessary tag file. The please utility contains a command called make:tag that will create the tag's PHP file for us within our project's app/Tags/ directory (the Tags directory will be created if it does not already exist). The command accepts the name of our new tag; in the following example ServerError is the name of our new Antlers tag (make sure to run this command from project's root directory, which should contain the please file):
1php please make:tag ServerError
A new file should now be located at app/Tags/ServerError.php with the following contents:
 1<?php
 2
 3namespace App\Tags;
 4
 5use Statamic\Tags\Tags;
 6
 7class ServerError extends Tags
 8{
 9    /**
10     * The {{ server_error }} tag.
11     *
12     * @return string|array
13     */
14    public function index()
15    {
16        //
17    }
18
19    /**
20     * The {{ server_error:example }} tag.
21     *
22     * @return string|array
23     */
24    public function example()
25    {
26        //
27    }
28}
Statamic will automatically load the tag classes from this directory for us, so there are no extra steps involved to actually hook it up to the Antlers template engine. Each public method within a Statamic tag class can be accessed from a template using the <TAG_NAME>:<METHOD_NAME> syntax, and the index method can be used by just supplying the tag's name. For our new tag, we will only be using the index method so we can write something like this in our template:
1{{ server_error }}
In our template we use server_error instead of ServerError - all CamelCased names must be converted to snake_cased names when they are used in our Antlers template. We now need to add some code to our index method that will trigger an error allowing us to test our new error page. This can be done by simply throwing an Exception:
 1<?php
 2
 3namespace App\Tags;
 4
 5use Exception;
 6use Statamic\Tags\Tags;
 7
 8class ServerError extends Tags
 9{
10    /**
11     * The {{ server_error }} tag.
12     *
13     * @return string|array
14     * @throws Exception
15     */
16    public function index()
17    {
18        throw new Exception('This is a test exception.');
19    }
20
21}
After this change, whenever the Antlers templating engine encounters the {{ server_error }} tag a new Exception will be thrown, allowing us to test our error page whenever we want. While our new tag works, the {{ server_error }} can be shortened to something more convenient by making use of a tag alias.
Statamic allows tag authors to provide different names for their tags through the use of the alias feature. We will take advantage of this feature to give our tag a simpler name of {{ 500 }}. In doing so, our tag will also feel more natural when comparing it to the built-in {{ 404 }} tag. To add a tag alias, we simply have to define a static $aliases property with a list of all the tag's aliases:
 1<?php
 2
 3namespace App\Tags;
 4
 5use Exception;
 6use Statamic\Tags\Tags;
 7
 8class ServerError extends Tags
 9{
10    // Anything that appears in this list can be used
11    // in our templates in place of server_error.
12    protected static $aliases = ['500'];
13
14    /**
15     * The {{ server_error }} tag.
16     *
17     * @return string|array
18     * @throws Exception
19     */
20    public function index()
21    {
22        throw new Exception('This is a test exception.');
23    }
24
25}
After adding this, we can now use the {{ 500 }} tag in our Antlers templates to trigger a server error whenever we want.
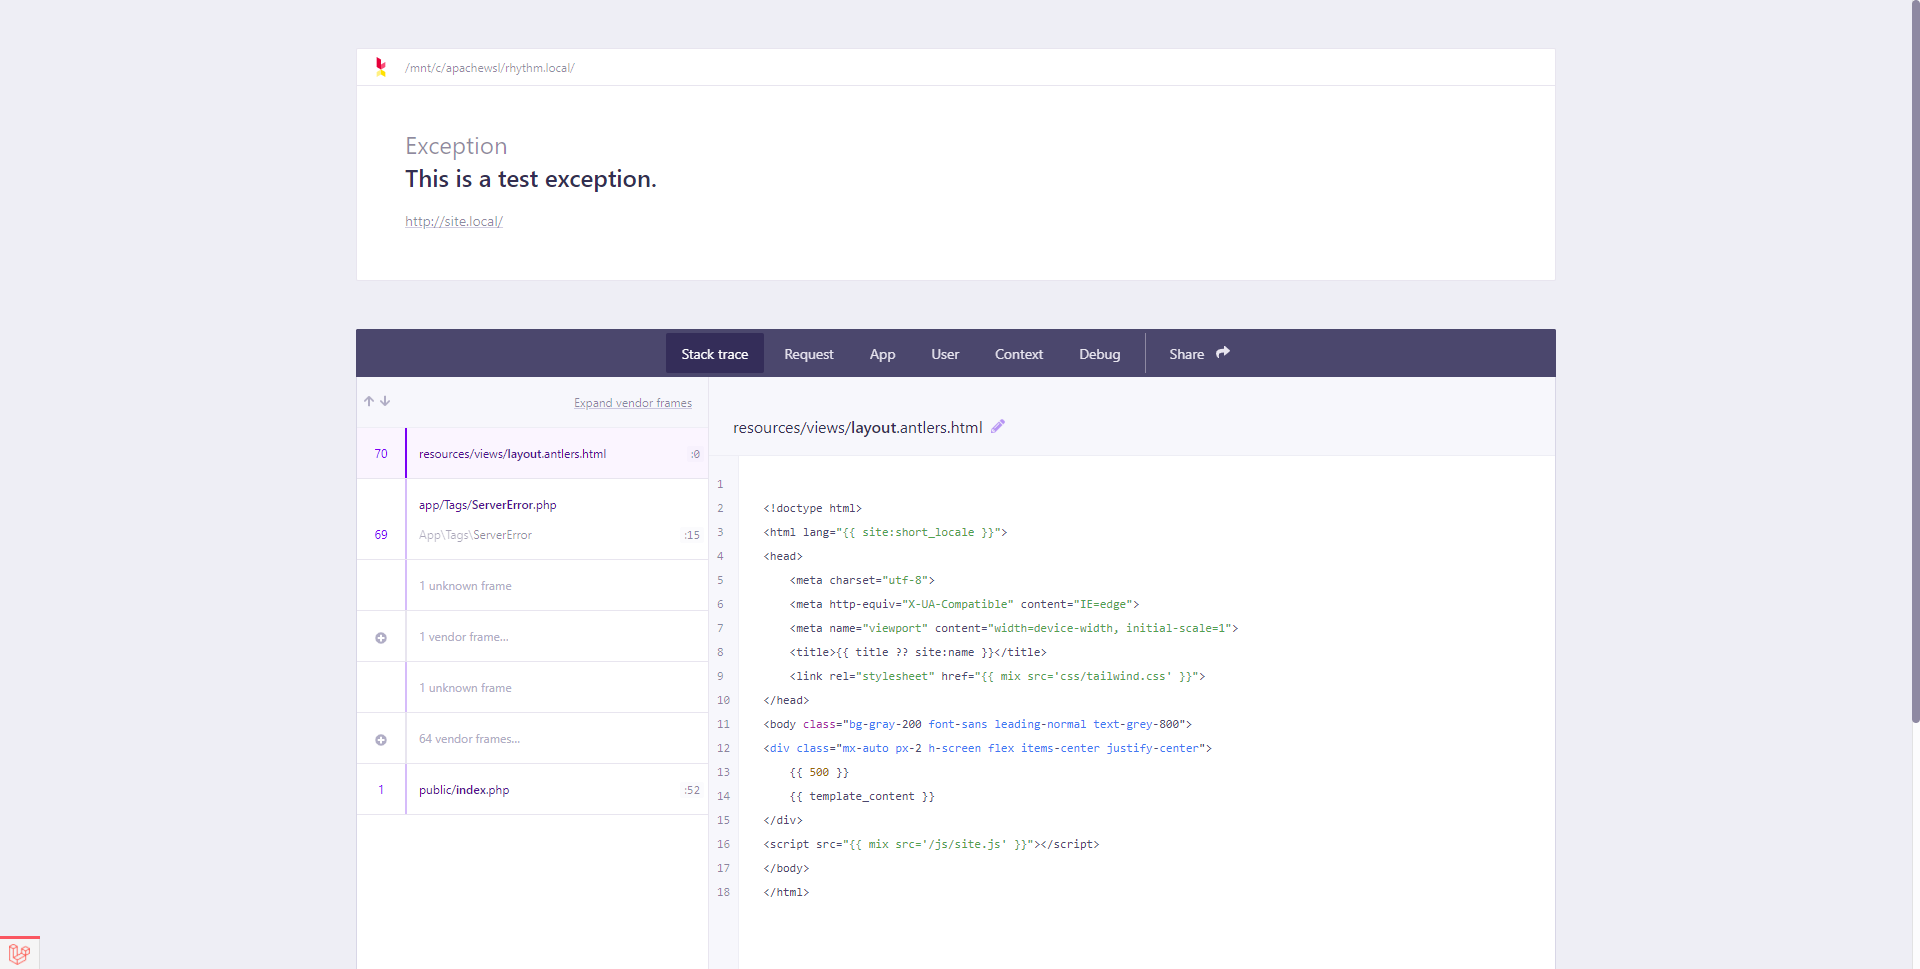
#Preparing the Local Project
It is often that when working on projects locally, the project is in debug mode. Because of this, we will see screens like this instead of our custom error page:
To have our custom error page show up we need to temporarily update our .env file and adjust the value of the APP_DEBUG entry to false:
1...
2APP_DEBUG=false
3...
If your custom error page still does not appear, it is likely that your project's configuration values have been cached. To solve this issue, simply run the following command line utility from the root directory of your project (where the artisan file is located):
1php artisan config:clear
After this command has finished your custom error page should now appear once the page is refreshed. If your custom error page still does not appear, the next most common reason is that the config/app.php configuration file has been modified to not load the configuration value from the .env file.
To resolve this issue, open the config/app.php file in your editor and locate the debug entry:
 1<?php
 2
 3return [
 4
 5    // ...
 6
 7    /*
 8    |--------------------------------------------------------------------------
 9    | Application Debug Mode
10    |--------------------------------------------------------------------------
11    |
12    | When your application is in debug mode, detailed error messages with
13    | stack traces will be shown on every error that occurs within your
14    | application. If disabled, a simple generic error page is shown.
15    |
16    */
17
18    'debug' => true,
19
20    // ...
21
22];
Adjust the value of your debug entry to false and then clear the application's configuration cache by using the config:clear command mentioned earlier.
After getting our local project setup and configured to test the error page, we should now see something similar to the following in the web browser:

#Working With Projects Like TailWind CSS
If your project is utilizing tools like TailWind CSS that produce a production CSS build based on the classes your template files actually use, you may run into situations where some classes used on your custom error pages are not included in the final build. The following steps will target TailWind CSS 2 and the default Statamic site setup, but similar steps may be used for other CSS purging utilities.
To have custom error pages included when producing production asset builds locate your tailwind.config.js file at the root of your site's project and find the purge section. By default it should contain entries similar to the following:
 1
 2module.exports = {
 3    purge: {
 4      content: [
 5        './resources/**/*.antlers.html',
 6        './resources/**/*.blade.php',
 7        './content/**/*.md'
 8      ]
 9    },
10    // ...
11  }
The content array contains the filename patterns that will be used when determining which files to analyze the CSS classes of. On a fresh Statamic installation it will scan all filenames that end with .antlers.html, .blade.php, or .md (within the content/ directory). Because our custom error page is named 500.html, it will not be picked up by the purge process. To remedy this we can add a single entry for this one file:
 1module.exports = {
 2    purge: {
 3      content: [
 4        './resources/**/*.antlers.html',
 5        './resources/views/errors/500.html',
 6        './resources/**/*.blade.php',
 7        './content/**/*.md'
 8      ]
 9    },
10    // ...
11  }
Alternatively, we can also add a new pattern that will match all .html files within the resources directory:
 1module.exports = {
 2    purge: {
 3      content: [
 4        './resources/**/*.antlers.html',
 5        './resources/**/*.html',
 6        './resources/**/*.blade.php',
 7        './content/**/*.md'
 8      ]
 9    },
10    // ...
11  }
#Referencing Public CSS and JavaScript Assets
When building our site's template using Antlers, we usually add our site's CSS or JavaScript assets using the {{ mix }} Antlers tag. Because we are assuming that all server-side languages are not an option, we can simply reference our public assets directly from within our error page's template.
When referencing a public assets in this way we need to be sure to prefix the asset paths with / so that they are resolved relative to the site's domain name:
 1<!DOCTYPE html>
 2<html>
 3<head>
 4    <title>Our Custom Error Page</title>
 5    <link rel="stylesheet" type="text/css" href="/css/tailwind.css">
 6</head>
 7<body>
 8
 9<h1>Something bad happened!</h1>
10
11</body>
12</html>
If you have changed the name of your build files, make sure to use those names instead.
#Conclusion
Customizing your project's error pages are a great way to provide additional details to your site's visitors, and are often a great place to demonstrate some of a brand's personality. The default Statamic error pages can be changed in a similar way to overriding Laravel's error pages. We also developed a custom Antlers tag to generate server errors whenever we want to make it easier to test our custom error page.
∎